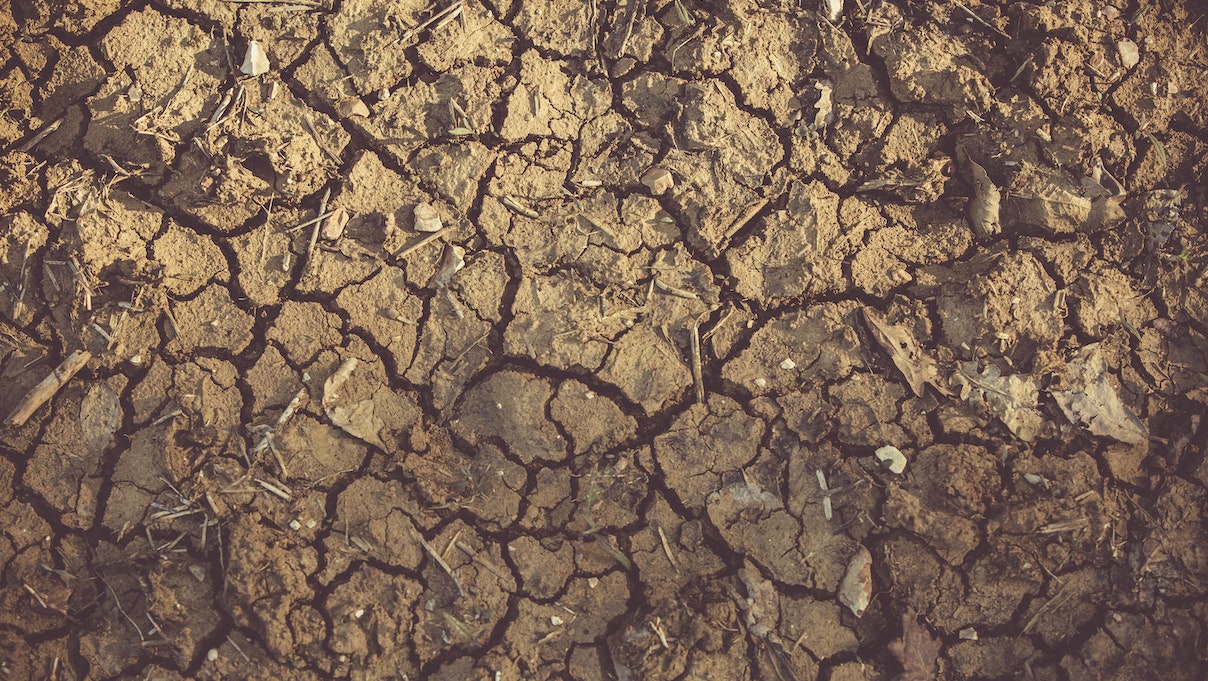
Adequate watering is necessary to maintain a stunning landscape with lush green grass, strong trees, and vibrant flowers. Water-saving automatic sprinklers are a great way to accomplish this. However, it’s imperative to have a plan in place before starting a DIY project. Fortunately, many manufacturers provide specially created systems that are adapted to your yard and location.Â
They include instructions on how to check your water pressure as part of the procedure, which normally calls for a minimum of 30 to 35 psi and 10 to 13 gpm of water flow. They also offer a template for drawing the boundaries of your property. After submitting the sketch, you’ll get a thorough landscaping plan and precise instructions, along with a list of hardware store supplies you’ll need to assemble the system.
How To Install An In-Ground Sprinkler System
Step 1: Check underground utility lines
It is essential to confirm with your neighborhood building department whether a permit is required before starting your do-it-yourself sprinkler system project. It’s also advised to check to see if there are any underground utility lines that might be damaged during digging by calling 811 or visiting the 811 websites for your state.
Step 2: Gather information about your water supply
To ensure that you purchase the correct components, it is important to gather essential information about your water supply, which includes the following: the water pressure in PSI, the size of the water meter (for municipal systems) or well pump (for well water), the size of the water service line, and the flow rate measured in gallons per minute.
Step 3: Create an irrigation map
The creation of an irrigation map is the third phase. Create a map of your property that shows all of the trees, bushes, and flowerbeds. Indicate the locations of the control valves and pipelines on the diagram. Mark the locations of the sprinkler heads as well, and make sure they are sufficiently spaced apart to provide enough coverage.

Step 4: Gather your supplies
Collect the sprinkler system’s parts according to the irrigation map and water system’s standards. Any sprinkler system’s essential elements are as follows:
- Control valves
- Sprinkler heads
- Risers
- PVC pipe
- Automatic timer
Step 5: Connect your pipes
By placing PVC pipes into the trench, you may make sure you have enough for step six of constructing your sprinkler system. The PVC pipes should then be joined at their ends with primer and glue, and each sprinkler should be connected using a tee.
Step 6: Hook up the system to a water source
By attaching your control valve to an existing faucet or straight to the service line in step seven, you may connect your finished pipe system to the primary water source.
The control valve will also be connected to your PVC sprinkler pipe. You can use several valves to regulate the water flow to various areas of your yard.
Step 7: Attach the risers and flush out the system
To connect the sprinkler heads to the PVC pipes, you will need to use risers. Insert a riser into each tee connection located along the PVC pipes.
Also, it is crucial to remove any dirt or debris that might have entered the pipes during the construction process. To do this, turn on the primary water supply of the system and let the water flow until all debris has been cleared out.
Step 8:
Install a sprinkler head on top of each riser ensuring that they are positioned correctly and connected at soil level or just above it to ensure proper functioning. Then, proceed to set up your automatic timer.
Use a waterproof pipe to connect your timer to the control valve. Ensure that your timer is programmable so that you can schedule watering at different times for various zones in your yard.
Conclusion
Learn how to install an in-ground sprinkler system with our step-by-step guide. From planning and design to installation and maintenance, we’ll help you create a beautiful and efficient watering system for your home and garden.